Recently, a client came to me asking to help make her WooCommerce site load faster. I realised that there’s quite a bit to do after using Google PageSpeed Insights tool to measure the page speed scores – Mobile: 7 / 100, Desktop: 56 / 100. This is how we got the page speed scores to Mobile: 80+, Desktop: 90+.
Step 0) Baseline scores
First we need to know whether we’re improving and what better way than to use Google PageSpeed Insights tool to measure progress? We start off with the baseline scores of Mobile: 7 / 100 and Desktop 56 / 100.

Step 1) Upgrade to PHP Version 7.2 and Enable GZip
The site was hosted in Exabytes, which I’m a reseller of and hence quite familiar with. The good thing about Exabytes is that even though we may be on shared hosting, we can still configure quite a lot of server settings.
After installing a plugin to display the PHP version for the WooCommerce site, I noticed that the site was still running PHP version 5.6. Hence the first step is to upgrade the PHP version. Testing using PHP 7.3 resulted in fatal errors so we settled with PHP 7.2, which still improves WooCommerce site performance significantly.
While we’re at it, we also took the chance to enable some image processing libraries, e.g. GD, imagick which we’ll talk about more later.

We also enabled GZip compression so that the size of the content served will be smaller.

Doing so improved the page speed scores until Mobile: 21 (+14 points), Desktop: 67 (+11 points).

Step 2) Disable Jetpack
Jetpack is a well known plugin that does multiple things that helps with improving Google PageSpeed scores including lazy loading images, providing CDN for images and other assets etc. However Jetpack is HUGE at 50% the size of WordPress. It just doesn’t make sense to have so large a plugin to improve website loading speed when there are other much smaller plugins that we can install (more on that later). Hence we uninstalled Jetpack and the Google PageSpeed scores improved to Mobile: 43 (+22), Desktop: 72 (+5).

Disabling Jetpack does come at a cost though as the site uses Jetpack’s Google maps shortcode to display a map of the company’s location. We solved that quite easily by installing another plugin to display the map.
Step 3) Compress Images and Serve WebP
Nowadays most of the byes of webpages come from images, which means reducing images size can reduce the size of the webpage significantly. We can quite easily do this using a multitude of image compression WordPress plugins. Here’s a list that I’ve used before and that worked well:
All the plugins above work fine in an automated manner and are free for small sites with low number of images. For this client I simply picked Smush. You can choose any suitable plugin that works on your site.
I also installed and configured WebP Express plugin that reduces image sizes further by converting usual jpegs, pngs into the newer webp format, which is 20+% smaller than the usual formats that we are used to. To the human eye, most images look the same regardless of whether they are jpeg or webp, as can be seen in the screenshot from Google’s WebP Gallery site.

Unfortunately, after the changes, the Mobile page speed scores lowered to 38 (-5) while the Desktop scores decreased to 67 (-5). However, the amount of bytes the website visitor has to download decreased significantly and that is a good thing. The decrease in scores is also not too worrisome as we can improve page speed scores more as you will see later.

Step 4) Combine and Minify CSS using Autoptimize
If you haven’t heard of Autoptimize WordPress plugin, you probably don’t know much about WordPress PageSpeed optimization. Autoptimize is the plugin to use to gain massive boosts in Google PageSpeed scores for WordPress sites.
The web browsers work is that they download HTML, CSS, and JavaScript files and translated the code into a webpage that they render. In a grossly simplified manner some webpages take a longer time to load because:
- the files are larger in size and we need more time to download the resources
- the more files we have, the more server requests the browser have to make
- some files can’t be processed without blocking the rendering process
Autoptimize helps in the above by allowing us to combing multiple CSS files into 1 and then minify that combined CSS file so that unnecessary blank spaces, comments etc are removed and we download less bytes. Advanced usages also gets the browser to begin rendering the document before downloading and processing of the CSS file. This gives the impression that the website loads fast.
The follow are the Autoptimize settings I used for aggregating / combining CSS. It’s simple but it does the trick well.
 In order to minimize risk of breaking the site layout, we’ve only configured Autoptimize to concatenate CSS files and minify them. Doing so let to the scores increasing to Mobile: 61 / 100 (+23), Desktop: 79 / 100 (+12).

In the future, we might do more advanced things with Autoptimize that might break the site layout or user experience, including inlining above the fold CSS + delay download of CSS file. All these require more technical involvement and effort with tests and trials on a staging site before we deploy to production.
Step 5) Selectively Disable Plugins with Plugin Organizer
While looking into Google PageSpeed optimization opportunities, I noticed that there’s a JavaScript file that is not required in the home page: wp-google-maps/wpmza_data.js. This came from the Google maps plugin that is only used in 1 page and not in the home page. Hence we don’t need to load this file, or rather the entire plugin on any other pages apart from that 1 page.
To selectively disable the WordPress plugin, I used Plugin Organizer that allows me to disable the plugin globally and only enable in the page where we display the map. This is only possible because we can access the web server to set up the must-use component of the plugin. Doing so removed that single render blocking JavaScript file from the home page.
Because the site is a simple one and didn’t use a lot of plugins, the PageSpeed scores improved only modestly until Mobile: 62 / 100 (+1), Desktop: 83 / 100 (+4). On a site with multiple plugins, the effect may be more pronounced as we might be able to disable more plugins.

Step 6) Optimize JS and Lazy Load Images with Autoptimize
Apart from CSS files, JavaScript files can also block rendering as the browser needs to process js files in case they modify the webpage by that added or changed some elements. Autoptimize again helps here by allowing us to aggregate / combine JavaScript files into 1 file and then load that resultant file in a non render blocking manner.
Below are the settings that I used, again simple but effective. I was also lucky that the site is a simple site that doesn’t have multiple conflicting plugins where load order and conflicts are present. Otherwise, I would need to use our in house custom code to do more advanced optimization instead of relying on Autoptimize. Also note to avoid aggregating inline JS as this can make Autoptimize’s cache size grow quickly. I’ve had previous experience that resulted in the cache size growing to gigabytes in size. So be sure to leave that unchecked unless you are technical and know how to handle that.

Doing so resulted in the removal of 2 JavaScript render blocking files. These are now rendered in a non-blocking manner.

I also enabled lazy loading of images in Autoptimize instead of in Smush as it worked better here. Granted, I had to fix some small CSS style issues that resulted but the lazy loading helped make the site render faster as perceived by a human.

After lazy loading images and loading the JavaScript files in a non blocking manner, we have slight improvements in PageSpeed scores – Mobile: 70 / 100 (+8), Desktop: 86 / 100 (+3).

Step 7) Install and Configure WP Fastest Cache
Because the server that we are on is a budget option and not a managed WordPress setup like WPEngine, Kinsta, or some other that manages caching on our behalf, we had to setup a caching plugin that does this. There are some well known options like W3 Total Cache and WP Super Cache and I’ve tried those before, but WP Fastest Cache strikes a good balance between ease of use and configurability.
In order to prevent conflicts with other plugins and especially with Autoptimize already handling the CSS and JS optimization, I configured WP Fastest Cache in the following manner:
- enable cache,
- preload cache,
- don’t show for logged-in users as they need to see the site while drafting content (they can log out / open up an incognito window to see the cached version),
- clear cache on new and update post,
- and enable browser caching

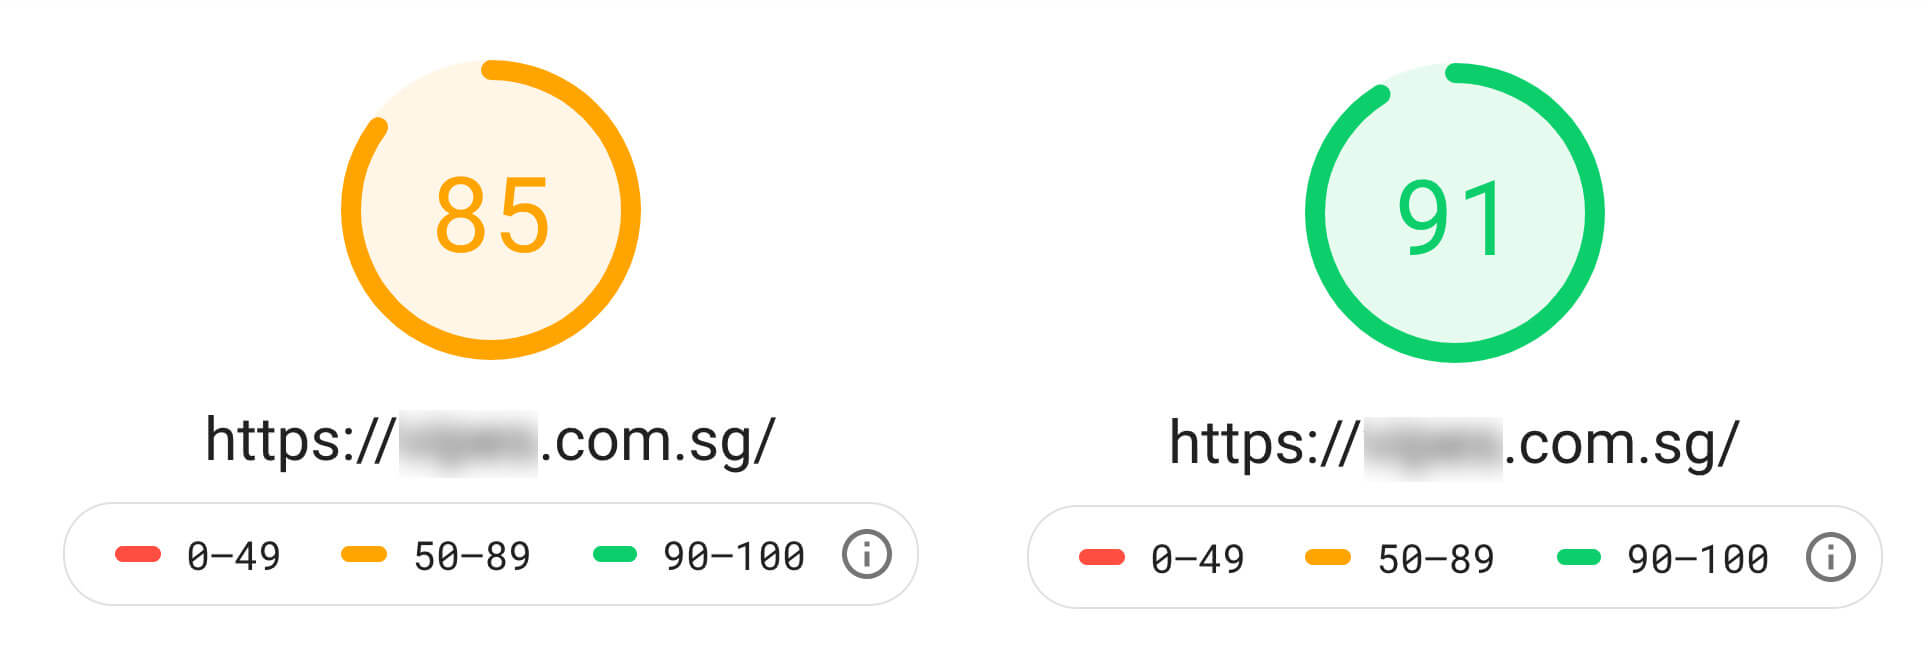
After configuring WP Fastest Cache, I now achieve a good PageSpeed score for the WooCommerce home page at Mobile: 85 / 100 (+15), Desktop: 91 / 100 (+5). That’s where we’re going to stop as anything further requires more technical knowledge and even custom code, e.g. code splitting, purify CSS to remove unused CSS, using code to remove duplicated CSS etc.

Conclusion
By installing and right configuration of WordPress plugins, we can make drastic improvements to the WooCommerce PageSpeed scores. The Desktop score jumped from 56 to 91, a 35 point increase, while the Mobile score radically flew by 78 points from 7 to 85. This Google PageSpeed score improvement is also accompanied by a real faster website loading experience in a real browser. We also noted there can be further improvements to the WooCommerce page speed scores if we did some custom code, but that’s for another time.
Now I just need to spend some time to make my own site load faster XD
| Step | Process | Mobile Score | Desktop Score |
|---|---|---|---|
| 0 | Baseline | 7 | 56 |
| 1 | Upgrade PHP to 7.2 + Enable GZip | 21 (+14) | 67 (+11) |
| 2 | Disable Jetpack | 43 (+22) | 72 (+5) |
| 3 | Smush image compression | 38 (-5) | 72 (+0) |
| 4 | Combine CSS with Autoptimize | 61 (+8) | 79 (+12) |
| 5 | Disable plugins with Plugin Organizer | 62 (+1) | 83 (+4) |
| 6 | Optimize JS and lazy load images with Autoptimize | 70 (+8) | 86 (+3) |
| 7 | Install and configure WP Fastest Cache | 85 (+15) | 91 (+5) |